VOXLS 30 C 320
320 kV Microfocus Reflection Target Penta Source Functionality available Flat Panel Detector Max Scan Volume: 610mm (Ø) × 1050mm (H) Max Sample Mass: 100kg central load System Mass: 10,350kg
Shop-floor horizontal-arm CMM
All guideways of the HD-90 are encapsulated in protective covers to ensure thermal insulation against environmental changes and to protect the system from any airborne contaminants – giving you the freedom to place your CMM when you benefit most.
Tailored for the quality control of vehicle bodies and sub-assemblies in production areas, the open structure guarantees maximum accessibility to the measurement area while simplifying manual or automated part loading and unloading operations, as well as allowing a safe utilization in any production area.
updated: March 16, 2023
HD-90 is a heavy-duty ultra reliable high-performance CMM for deployment in production and shop-floor environments, developed specifically for car-body and sub-assembly quality control applications.
HD-90’s Runway design is specifically developed for single or double arm configurations. It is totally encapsulated in protective covers to ensure thermal insulation against environmental changes while protecting the system from the contaminants typically found in a workshop environment.
The open structure can be installed floor level or on the floor, the walkable guideways protect the X slideways and the completely encapsulated structure guarantee maximum accessibility in safety to the measurement area while simplifying manual or automated part loading and unloading operations, as well as allowing a safe utilization directly in any production area.
Superior dynamics and accuracy characterize the HD-90 performance in terms of throughput and reliability on large components, sub-assemblies and assemblies in harsh environments.
Air bearings for the Y and Z axes, double recirculating bearing guideways for the X-axis and DC motors are the key elements for this high-speed metrology solution.
For the double arm solution the measurement volumes of the two horizontal arms overlap each other by 100mm in order to ensure complete access to all the features to be measured on the component.
Measuring volumes from: 4000x1600x2000 mm to 8000x1600x3000 mm
Accuracy from: 14 + 18 L/1000 ≤ 55
Repeatability from: 14 µm

SIMSCAN-S Gen2
quick view
NimbleTrack Gen2 Wireless Optical 3D Scanning System
quick view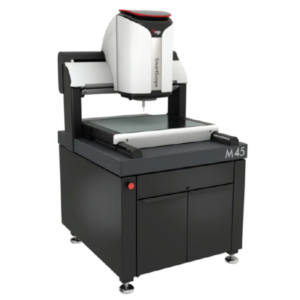
SmartScope M45
quick view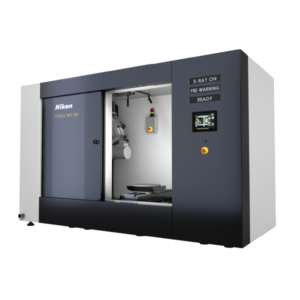
VOXLS 30 C 320
quick view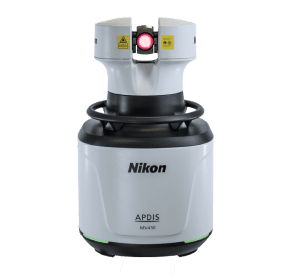
APDIS Laser Radar
quick view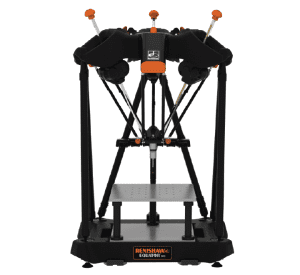
Equator 300 EH
quick view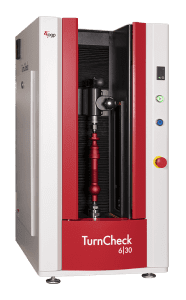
TurnCheck Series-6
quick view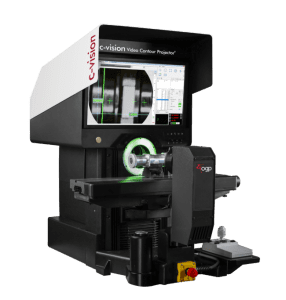
C-vision Benchtop Video Contour Projector
quick view
MiSTAR 555
quick view