VOXLS 30 C 320
320 kV Microfocus Reflection Target Penta Source Functionality available Flat Panel Detector Max Scan Volume: 610mm (Ø) × 1050mm (H) Max Sample Mass: 100kg central load System Mass: 10,350kg
New Renishaw Equator™ 500 – intelligent process control for larger parts with all the benefits of the proven Equator 300 gauging system
The new larger Equator 500 system now enables the gauging of larger parts, with a working volume of 500 mm in diameter and up to 400 mm in height.
updated: June 12, 2024
Both Equator 300 and 500 gauging systems are accurate between a range of 5 ºC and 50 ºC at any rate of temperature change, and are capable of scanning speeds in excess of 200 mm/s.
Every system is compatible with simple-to-use Organiser operator software, EZ-IO software for automation, and IPC (intelligent process control) software for updating tool offsets on CNC machine tools.
Larger measuring volume
The Equator 500 has a gauging volume of 500 mm diameter in the X/Y plane and 250 mm in Z when used with the SM25-2 scanning module. This can be expanded to 400 mm in Z with the SM25-3 scanning module, which allows styli up to 200 mm in length to reach many more features. The base of Equator 500 supports workpiece and fixturing with a total weight limit of 100 kg.
Typical applications include the manufacture of car and truck transmission and engine casings, drive-train parts like conrods and differential housings, suspension castings, pressed parts, valves and pumps.
Accuracy with rapid temperature changes, now over a 45 ºC range
Climatic conditions can result in variable daily and seasonal temperature cycles. For example, early in the morning a cold machine shop can increase in temperature due to both external conditions and machinery heating up. The system has been proven to cope with this by re-mastering, meaning that accurate gauging can start as soon as the first part has been produced and continue regardless of how conditions change.Automatic update of tool offsets directly from Equator 300 and 500 systems
The Equator range is compatible with new IPC software which allows constant monitoring and automatic adjustment of a machining operation, keeping part dimensions close to nominal and well within process control limits. This correction of process drift improves part quality and manufacturing capability, and reduces scrap. The proximity of the Equator gauge to the CNC process allows adjustment at the point of manufacture, avoiding time delays or reliance on finished part (tailgate) inspection. An Equator gauging system can be connected to one or multiple CNC machine tool controllers.
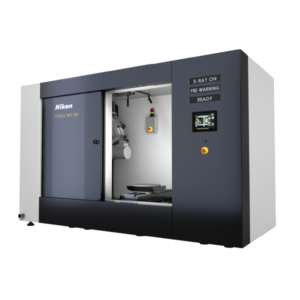
VOXLS 30 C 320
quick view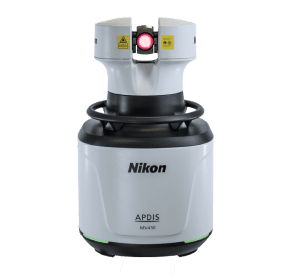
APDIS Laser Radar
quick view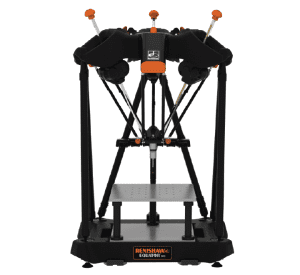
Equator 300 EH
quick view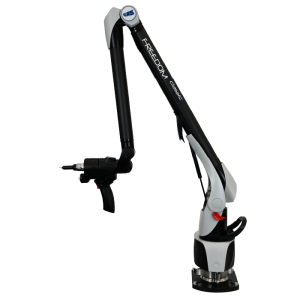
Freedom Arm
quick view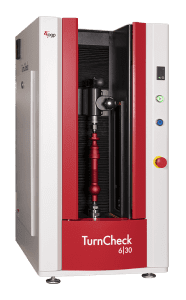
TurnCheck Series-6
quick view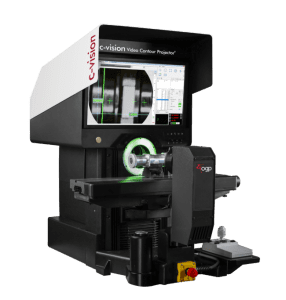
C-vision Benchtop Video Contour Projector
quick view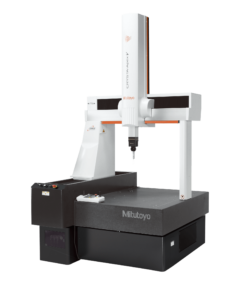
CRYSTA-Apex V500/700/900
quick view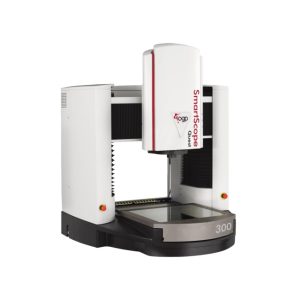
SmartScope Quest 300
quick view